I have been following this blogger on Instagram for a year at least. I’ve always loved her coffee table. Imagine my surprise when I found out it was an IKEA hack! So what do they say, imitation is the greatest form of flattery? Something like that. So I grabbed the hubs and off to IKEA we went. I checked the store site first to make sure they had them in stock-it’s a long ride if they didn’t. Of course it’s always worth the trip for their meatballs and chocolate cake!

 MMMM. Cake.
I am going to go through the steps and show you what I did to create this pretty table. It’s definitely a labor of love. Between the humidity (they say not to paint when it’s humid for a reason) the paint stayed tacky and in some cases I had drip marks that we had to wet sand out the next day, and the blisters from the spray gun.
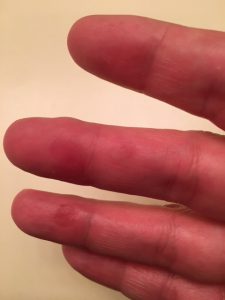
Plus I had to use my dad’s garage since I had no place to do this, it made a bit of a challenge. Oh and the hurricane coming up the coast and bringing rain wasn’t helping with the humidity and it delayed the project a few days. Oh what we go through when we DIY. :)

This is the table(s) from IKEA. It comes in white or brown. I wanted the brown shelf for the bottom so I got the brown. I think painting the white one would have been easier, it would have taken less coats of paint.

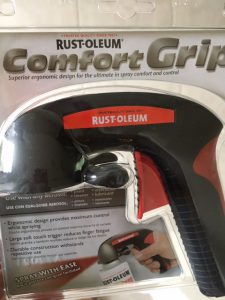
This is the recommended paint. You can pick up on Amazon or any Home Depot but make sure its Rust-Oleum 1910830 Metallic Spray, Gold, 11-Ounce It’s the best coverage. I was informed I should finish it with the clear enamel to help with wear and fading. I also got this handy dandy spray gun for the top of the spray can so your finger doesn’t get tired. Of course there were consequences of this (see above) LOL

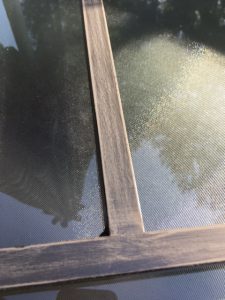

Here are all the pieces I had to paint. Make sure you sand them first to rough them up so the paint sticks better. I didn’t use a primer, I felt sanding and wiping them real well would be good enough.
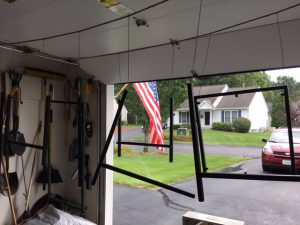
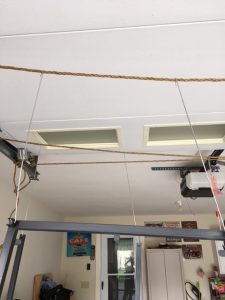

My dad is clever and strung rope across the open garage door and we hung the pieces by rods I got from work. (wire coat hangers would work too) Let the painting begin.

Don’t forget to paint the screws since they will be visible through the glass top.
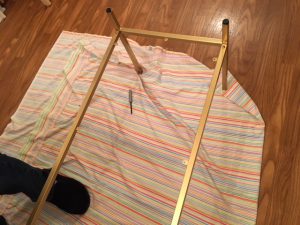
Next, assemble and…
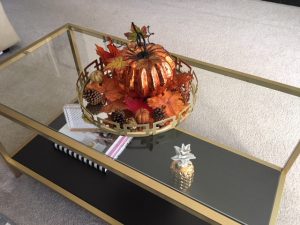
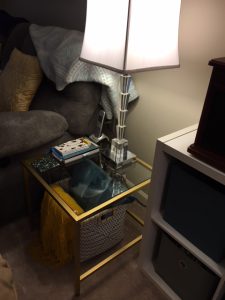
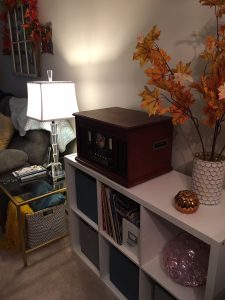
Decorate and enjoy the fruits of all your hard work, blisters and heat stroke. Hahahaha
Thanks for sharing my DIY journey. I hope you like it as much as I do.
BTW, I posted this on my Instagram page and the girl I hacked this from said mine looked better
than hers! Wow! What a compliment. :)


