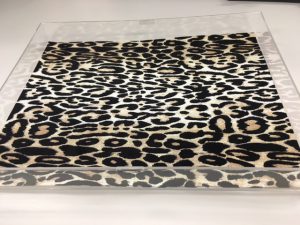
Ok, we all know how expensive Lucite can be. But it’s so pretty…*sigh. Well I have to say I can’t take the credit for this idea. Honestly I don’t remember where I saw it (probably Pinterest) but I had to share this easy hack to make a decorative tray you can use anywhere in the house. And it cost me under $5! Of course I used coupons to get everything really cheap. Here’s how to jazz up your space. Ready?
Step One:
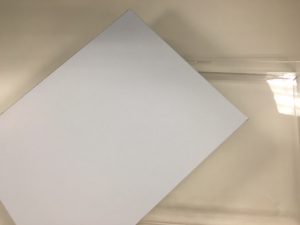
It’s difficult to see, sorry, but buy a clear plastic shadow box picture frame. I got mine at Michaels with a coupon. It cost $3.60. I did notice some are a little
more bowed out so check to see if it will lay pretty flat before you buy it.
Step Two:
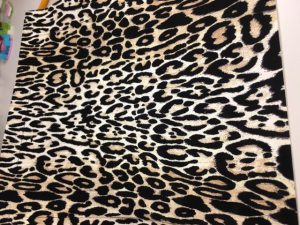
Pick your paper. I used 12×12 scrapbooking paper. There are so many patterns and colors. You can pick just a plain color if you like, you don’t
have to have a design. I really liked this one. I brought my friend with me and she used another coupon. I got this paper for $1.20. (there are cheaper
papers. Depends on the design)
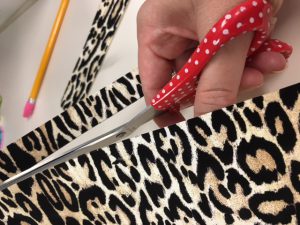
Measure the paper. Use the frame as a template and take a pencil and trace around it. Cut just on the inside of the pencil mark. That should be pretty close
to the inside measurement. I had to do a wee bit of trimming after.
Step Three:
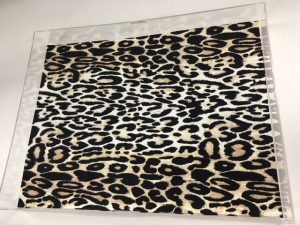
Place your paper inside the frame and voila!
Step Four:
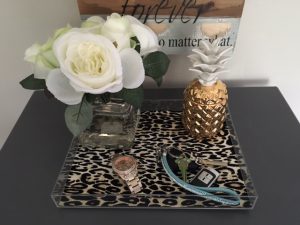
Decorate!
You have the say in what you want to put in your tray. You can use it on a coffee table, or desk. You can use it by your front door to put your keys
and sunglasses in. The possibilities are endless. Easy huh?
How will you decorate with your tray?
